Introduction
You found the game. Maybe someone sent you a link, maybe you typed something weird into Google and it appeared, or maybe you have been playing for three days and still do not fully understand what half the symbols do. Either way — this is the guide.
No tier lists shoved at you before you understand the basics. No “optimise your gameplay loop” language. Just honest, straight talk about how this game actually works and what makes the difference between dying on level 12 and reaching level 100.
What You Are Actually Playing
Google Block Breaker is a Breakout-style game. You control a paddle at the bottom of the screen. A ball bounces around and destroys blocks. You move the paddle to keep the ball alive. When all the breakable blocks are gone, you advance to the next level.
That is the whole game. Except it has 100 levels, 9 different power-ups, TNT blocks that chain-explode everything around them, unbreakable walls that force you to think about angles, and a world record of 111,475 points sitting at the top of the screen reminding you that somewhere, someone is much better at this than you.
The controls are simple. Mouse or finger drag to move the paddle. Press Launch or tap the button to release the ball at the start of each level. On mobile, the ◀ ▶ buttons give you precise movement when dragging feels too loose.
The Ball Goes Where Physics Says It Goes
This sounds obvious. It is not, because most players never actually think about it.
When the ball hits your paddle, the angle it bounces depends on where it lands. Hit it with the left edge and it curves left. Hit it with the right edge and it curves right. Hit it dead center and it shoots almost straight up. Once you understand this, you stop chasing the ball randomly and start placing it where you want it to go.
The most common reason players lose lives — especially on early levels — is not that the ball is too fast. It is that they are reacting to where the ball is instead of moving toward where it will be. Watch the ball’s angle when it leaves a block. That angle tells you exactly where it is going to arrive at your paddle. Get there first. The ball rewards players who anticipate, not players who panic.
On levels 61 and above the ball speed increases noticeably with each level. That is the point where Slow Ball stops being a “nice to have” and becomes genuinely essential. More on that shortly.
The Blocks and What They Mean
Not all blocks are the same. Here is what you will encounter:
Single-hit blocks are the standard. One touch and they are gone. These make up most of levels 1 through 40.
Multi-hit blocks take 2 or 3 hits. They change colour as they take damage — from red toward orange toward yellow — so you always know how close they are to breaking. On dense formations, these are where Fireball earns its keep.
Unbreakable blocks cannot be destroyed. They have a grey lock symbol. Your ball bounces off them exactly like a wall. The game starts introducing these around level 41 and they become the dominant feature of levels 61 through 100. You cannot break them. You route around them.
TNT blocks have a 💣 symbol. One hit and they detonate — and everything within roughly 1.5 block-widths around them goes with them. When you see a TNT block sitting in the middle of a full formation, aim for it. The chain explosion can wipe out 6 to 8 surrounding blocks in one shot and the points bonus is significant. When a TNT sits isolated with nothing around it, it is worth roughly one normal block. Aim accordingly.
Power-up blocks glow green and have an emoji inside. Hit them and the item falls toward your paddle. This is where most of the interesting decisions in the game happen.
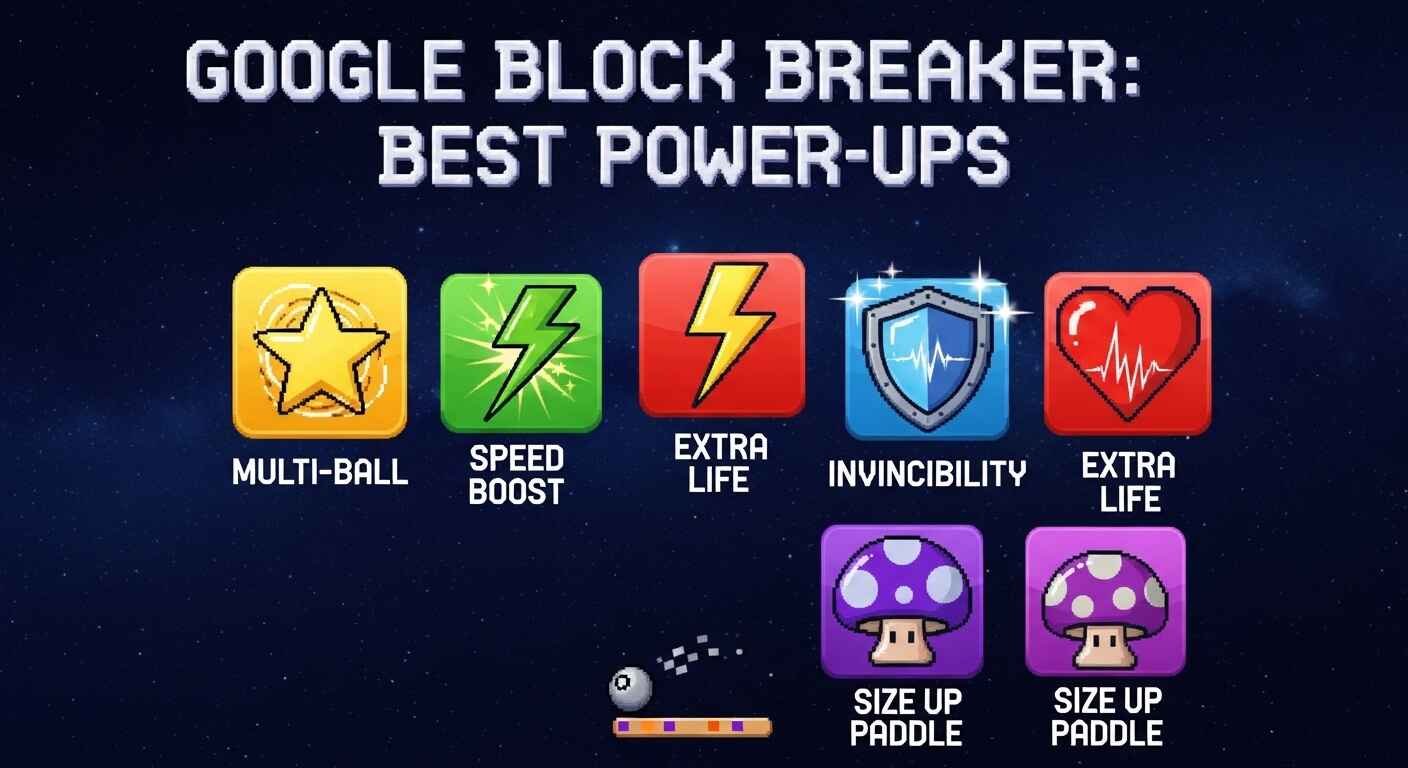
The 9 Power-Ups — What They Actually Do
❤️ Extra Life
Adds one life. Maximum 5. Always catch this. Move your paddle for it even if your ball is in a difficult spot. There is genuinely no situation where skipping Extra Life is the correct play. A life is worth more than any angle you protect.
🕸️ Safety Net
A glowing blue dashed line appears at the bottom of the screen. Any ball that reaches the bottom bounces back instead of costing you a life. This is the second most important catch in the game. It is absolutely essential during Multi-Ball phases where three balls are moving in different directions and tracking all of them is unrealistic. Catch it on sight.
🏓 Big Paddle
Your paddle grows to about 1.75 times its normal width for roughly 8 seconds. Wider paddle means better control, better angle options, and a much more forgiving catch window. The main reason to prioritise this before a Multi-Ball phase is that handling three balls with a small paddle is genuinely stressful. Handling three balls with a wide paddle is manageable. Always catch it.
⚡ Multi-Ball
Your one ball splits into three. Points come in much faster because you are hitting blocks three times as often. The catch is chaos — three balls at different angles, all needing to stay in play.
The mistake most players make is trying to follow all three balls at once. That does not work. The correct approach is to keep your paddle under the most dangerous ball — usually the lowest one — and let the other two work as bonus damage. If you have Safety Net active, you can be much more aggressive. If you do not, be conservative with your paddle position.
Multi-Ball is most valuable when the board is still mostly full. Activating it when only a few blocks remain produces minimal extra points. Save aggressive strategies for dense formations.
🔫 Laser Cannon
Two automatic laser blasters appear on either end of your paddle and fire upward every fraction of a second. They hit whatever blocks they are aimed at regardless of ball position. The real value here is reaching top-corner blocks that your ball simply cannot get to due to angle limitations — especially on levels with unbreakable walls creating dead zones in the corners.
Combined with Multi-Ball this is the strongest scoring combination in the game. The ball clears the main formation while the lasers systematically pick off the blocks your angles miss.
🔥 Fireball
Your ball turns into a fireball that burns straight through blocks without bouncing off them on contact. Extremely powerful on dense formations because it cuts straight lines through packed blocks instead of bouncing around the edges.
On sparse levels — say the last 8 blocks of a level spread across the board — Fireball sends your ball unpredictably into gaps and can actually make the situation harder, not easier. Use it when there is something worth burning through.
🐢 Slow Ball
Ball speed drops to about 60% for around 7 seconds. Players who play only the early levels think this is unimpressive. Players who reach level 70 think this is a lifesaver.
The game’s ball speed scales up with each level. By the time you are in the 60s the ball is moving fast enough that a single misjudged reaction costs you a life. Slow Ball gives you your timing back. It is especially powerful combined with Multi-Ball — three balls at 60% speed is dramatically more manageable than three balls at full pace.
🫧 Bubble
Slows the ball specifically on its downward arc — the moment it is falling toward your paddle and you need to get into position. It does not slow the ball going upward, only coming down. On fast levels, that extra fraction of a second on the return journey is often exactly what you need to recover from a difficult angle.
Think of it as Slow Ball with a more specific application. If Slow Ball is unavailable and Bubble drops, catch it.
💨 Speed Boost
The ball moves about 35% faster.
Here is the honest truth: Speed Boost makes the game harder. It shrinks your reaction window. It makes every other power-up catch more difficult. It makes Multi-Ball phases significantly more stressful. The extra speed does not produce meaningfully more points — you are not hitting blocks faster, you are just giving yourself less time to save the ball.
When you see Speed Boost falling, move your paddle away from it. Let it drop. If you catch it by accident, accept the difficulty increase and focus on staying calm. Panicking after a Speed Boost catch is how you lose three lives in a row.
The Three Combinations Worth Building Toward

Most good runs in Google Block Breaker come from two or three well-timed power-up combinations, not from catching everything that falls.
- Multi-Ball + Laser Cannon. Activate this when the board is dense. The balls clear blocks through bounce paths while the lasers eliminate the top-row blocks that your ball angles cannot reach. This is the highest damage output combination in the game. When both are active simultaneously the game shows a combo notification.
- Multi-Ball + Safety Net. This is the combination for sustained scoring runs. The net means you can focus entirely on keeping your best ball in play without anxiety about the others. It converts a high-risk situation into a manageable farming phase. World record players structure their runs around this combination.
- Multi-Ball + Slow Ball. The highest-skill combination. Three balls at reduced speed means you can track and sustain all of them for much longer than normal. The setup requires catching Slow Ball while already in a Multi-Ball phase, which does not always happen. When it does, the scoring window is exceptional.
Levels 1–100: What Changes and When
- Levels 1–20 are straightforward. Single-hit blocks in escalating patterns. Use these levels to practice angle control and build score. Catch every Extra Life you see — they will matter more later.
- Levels 21–40 introduce 2-hit blocks and the first instances of TNT. The board gets denser and Safety Net becomes important for the first time. Start paying attention to which blocks are power-up blocks before your ball reaches them.
- Levels 41–60 are where the game gets genuinely interesting. Three-hit blocks, mixed formations, and the first appearances of unbreakable obstacles. Fireball becomes worthwhile here. Laser Cannon starts to earn its keep on formations where wall geometry creates unreachable corners.
- Levels 61–80 are the patience test. Unbreakable wall formations mean some blocks require very specific ball angles to reach. Slow Ball and Bubble are no longer optional — they are necessary. TNT chains become the main way to clear dense sections efficiently.
- Levels 81–100 are boss layouts. Full boards of 3-hit blocks, unbreakable borders, complex interior walls. Extra Life is worth more than anything else at this stage. Safety Net before Multi-Ball is non-negotiable. Every life is a buffer between you and starting over.
The World Record Is 111,475
The confirmed record is 111,475 points. The game shows your gap to that number in real time throughout your run.
Players who have studied record-pace runs describe the same habits: never miss an Extra Life, never catch Speed Boost, use Multi-Ball only on dense boards, always pair Multi-Ball with Safety Net before activating it, and position the paddle for where the ball is going rather than where it currently is.
The gap tracker at the top is not just a number to chase at the end. It is a pacing tool. If you are 80,000 points behind the record at level 50, you know your power-up prioritisation through the first half of the game was off. Use that information to adjust your approach on the next run.
Conclusion:
Before you start a new level, take one second to look at the block layout. Identify the TNT blocks and plan which formation they are sitting in. Spot the power-up blocks and decide in advance whether the item inside is worth breaking your ball’s path for.
When you lose a ball, pause before launching the next one. Not for long just long enough to name out loud what you are doing differently this time. It sounds unnecessary. It prevents tilt. Tilt is how most high-level runs end, not difficulty.
The combination that fits together best for a complete run is: catch every Extra Life, pair Multi-Ball with Safety Net whenever possible, use Laser Cannon for unreachable corners, and avoid Speed Boost completely. Not complicated. Just consistent.
FAQs
What does the heart do in Google Block Breaker?
It adds one life. Catch it every time, in every situation, on every level. It is the most valuable item in the game.
How many levels does Google Block Breaker have?
100 levels across 5 difficulty tiers. Each tier introduces new block types and layout challenges that require different power-up strategies.
What is the world record for Google Block Breaker?
111,475 points. The game tracks your live gap to this number throughout your run so you can pace your scoring from level one.
Which power-up should I avoid?
Speed Boost. It increases ball speed by about 35%, which makes the game harder without producing meaningfully more points. Let it drop every time.
How do I play Google Block Breaker on Android?
Search “block breaker” in the Google app on Android. The game launches directly in the search result and uses touch controls — drag to move the paddle, tap Launch to release the ball.
What is the best combo in Google Block Breaker?
For pure scoring, Multi-Ball with Safety Net is the most reliable combination. For raw board-clearing power, Multi-Ball with Laser Cannon is the strongest. For maximum control, Multi-Ball with Slow Ball is the highest-skill option.